-
Worm Farming in Raised Beds
- 03:25 🪱 Brandy unboxes a worm composter from Vego Garden, expressing excitement about growing her own worms for composting.
- 05:35 📦 The composter resembles a laundry basket and comes with instructions on what to feed the worms, emphasizing no plastics, chemicals, or meat.
- 07:07 🛏️ Brandy demonstrates how to bury the composter 11 inches deep in a garden bed, highlighting the importance of depth for worm farming.
- 08:45 🪴 Before adding worms, she prepares the bedding with compost, garden soil, and a mix of natural materials, emphasizing the need for a neutral pH.
- 10:54 🍌 Brandy plans to feed her worms one to two times a week, stressing the importance of monitoring food levels to avoid overfeeding or hunger.
Brandy’s Garden Using and Raising Worms in a Raised Bed
Hey everyone, it’s Brandy, and I’m super excited to share a new chapter in my gardening journey with you. Today, I unbox something I’ve been eyeing for a while – a worm composter from Vego Garden that I snagged for $49.95 (That’s not an affiliate link. I just like the worm composter, so feel free to click it!)
In my latest video, “Worm Farming in Raised Beds,” I take you through my front-side garden, also known as the ‘blue door garden.’ It’s where I’ve faced some challenges with raised beds, but hey, that’s gardening for you – always something to learn and improve.
These beds, built with pickets during the wood craze of 2021, have served me well, but it’s time for a revamp. I experimented with different methods like hugelkultur, but it didn’t quite hit the mark. Now, I’m diving into the world of worm farming with this cool composter.
Why worms? Well, they’re not just slimy little creatures; they’re like garden superheroes. Worm castings are gold for your plants, helping with soil aeration and providing top-notch compost. Plus, it’s an excellent solution for recycling kitchen scraps.
In the video, I unbox this sturdy composter that honestly looks like a heavy-duty laundry basket. Vego Garden even threw in a cute magnet with care instructions. No onions, garlic, or meat bones – got it!
Now, the fun part begins. I’m planting this worm composter in one of my beds, and if it works out, I might become a full-fledged worm farmer. Worm tea, anyone?
I’m sharing the whole process – digging the hole, preparing the bedding with compost, cardboard, and leaves, and, of course, adding the stars of the show: the worms. Not just any worms, I’m thinking of going for red wigglers; they’re like the rockstars of the composting world.
If you’re curious about this worm farm or thinking of becoming a fellow worm wrangler, check out the full video here.
For media inquiries or if you just want to share your own worm farming adventures, reach out to Brandy’s Garden Media Relations at media@brandysgarden.com.
About Brandy’s Garden:
Brandy’s Garden is where I spill the dirt on my gardening experiments, share tips, and connect with fellow plant enthusiasts. Whether you’re a seasoned gardener or just getting your hands dirty, there’s always something blooming in Brandy’s Garden.Follow Brandy’s Garden on Social Media:
Disclaimer: Brandy’s Garden is not affiliated with Vego Garden; I just genuinely love their worm composter.
-
Organizing Seeds and Mapping Garden Space
Chapter Views:
- 00:00 🚗 Plans for seed organization stressing cost-effectiveness.
- 03:24 📦 Importance of Michaels’ photo boxes for organized seed storage; reflecting on past disorganization.
- 05:11 🗂️ Challenges with insufficient seed boxes; purchase of additional boxes for better organization; plan to use a legal pad for notes.
- 09:07 📚 Encouragement for gardening; personal experience with horticulture classes; insights from landscape design class.
- 11:00 🌳 Showcase of master garden plan; importance of crop rotation and companion planting; personal journey from a small bed to a larger garden.
- 20:09 📈 Discussion on expanded garden, future plans, and dreams; mention of potential small market share or garden ministry.
- 21:03 🖊️ Practical tips for garden planning; importance of drawing a master copy for each season; recommendation of square foot gardening.
- 22:15 🌱 Caution about challenges in maintaining expanded garden space; advice to start small and gradually expand based on success.
- 23:51 📏 Stress on keeping records of gardening activities; suggestions for beginners with flowers or small beds; encouragement to learn from both successes and failures.
Ok. That’s the TL;DR.
Here is from my video. Watch and read and let me know if you have better ideas. Or, if you just want to share.
Getting Organized for a Bountiful Gardening Season 🌱📦
Hi Everybody,
I hope this day finds you well and full of excitement for the upcoming gardening season! 🌼🍅 As someone who shares a passion for gardening, I wanted to reach out and share a recent experience that might spark some inspiration for your own garden planning.
In this video I share my insights on seed organization and garden planning. I went to Michaels to snag some discounted photo boxes for seed packets to the importance of keeping records of planting successes and failures.
How to Organize Seeds and Plan the Garden (briefly, then more detailed)
To organize seeds, consider using archival-safe photo boxes, as shown in the video. These boxes are available at Michaels and are commonly used by gardeners (like you and me). Label and categorize the boxes based on the type of seeds or plants you intend to grow. It’s recommended to separate vegetable, fruit, flower, and herb seeds to keep things organized. Additionally, create a master plan or drawing of your garden layout, marking where each type of seed will be planted. This plan helps with crop rotation and efficient use of space. Regularly review and update your seed organization, making notes on successes and failures for future reference.
How About Drawing the Garden Space?
I know this is long, but it is worth it. I wanted to bullet this out, so it is easy to follow. I honestly hope it helps you, and you can see what I’ve done with it myself in the video.
Remember, this is for a small raised bed to a larger space, and highlights the significance of planning, record-keeping, and adapting based on previous experiences. As in, you kept a record and know what happened last year. You will forget! I promise. “Hey, what was that tomato we liked,” said John. “I think it was xyz,” I said, but I really had only a vague idea. You don’t have to forget like I have.
Also you must take into consideration factors like space, sunlight, and plant varieties. Just remember whether this is the first garden or tenth, you can benefit from these easy to follow steps on gardening.
To draw your garden, follow these steps:
Gather Supplies
- Get a good-quality pencil with a reliable eraser.
- Use card stock or thicker paper to draw on for durability.
- Consider using a drafting ruler for straight lines.
Choose a Scale
- Decide on a scale for your drawing. For example, each square on your paper could represent one square foot of your actual garden.
Start with an Outline
- Begin by drawing the outline of your garden space. Include any existing structures, like fences, walls, or buildings.
Add Existing Features:
- Mark the location of any permanent features, such as trees, shrubs, or existing flower beds.
Plot Planting Areas:
- Use symbols or labels to represent different planting areas for vegetables, fruits, flowers, or herbs.
Consider Sunlight and Shade:
- Take note of the sunlight patterns throughout the day. Indicate areas of full sun, partial shade, or full shade.
Include Pathways:
- Draw pathways or walkways between planting areas. Consider their width based on how you plan to navigate through the garden.
Label Plants:
- Label specific plants or groups of plants within each planting area. This will help with crop rotation planning.
Use Colors or Shading:
- If you like, use colors or shading to differentiate between different types of plants or features.
Create a Legend:
- Include a legend or key to explain the symbols, colors, or labels you’ve used in your drawing.
Plan for Growth:
- Anticipate the growth of plants over time. Consider spacing requirements and potential size of mature plants.
Photograph or Scan:
- Take a photograph or scan your garden drawing for digital records or future reference.
- John actually took the aerial photos from our county and used it as a reference for some things.
- Google maps might also help.
Remember that your garden drawing doesn’t need to be elaborate; the goal is to create a practical and useful visual representation. Update the drawing each season to reflect changes and learn from your gardening experiences.
If you got this far, you’re dedicated. Let me know what you end up doing with the drawings. I’d love to see them and share with everyone.
Happy gardening!
Brandy -
Mini Plant and Garden Tour, Shade Cloth, and Killing Tomato Seedlings
Peppers
So guys I wanted to give an update. These are my Peppers we planted, and you can see that right there those popping through are echinacea. They are finally, finally starting to bloom, or rather germinate, and so are my Peppers I’ve got. More and more of those. It is taking a good bit for my Peppers to germinate, but that’s okay because I typically will not plant my Peppers until Mother’s Day, and we are still a good month away from that (I posted this after Mother’s Day but still incredibly useful).
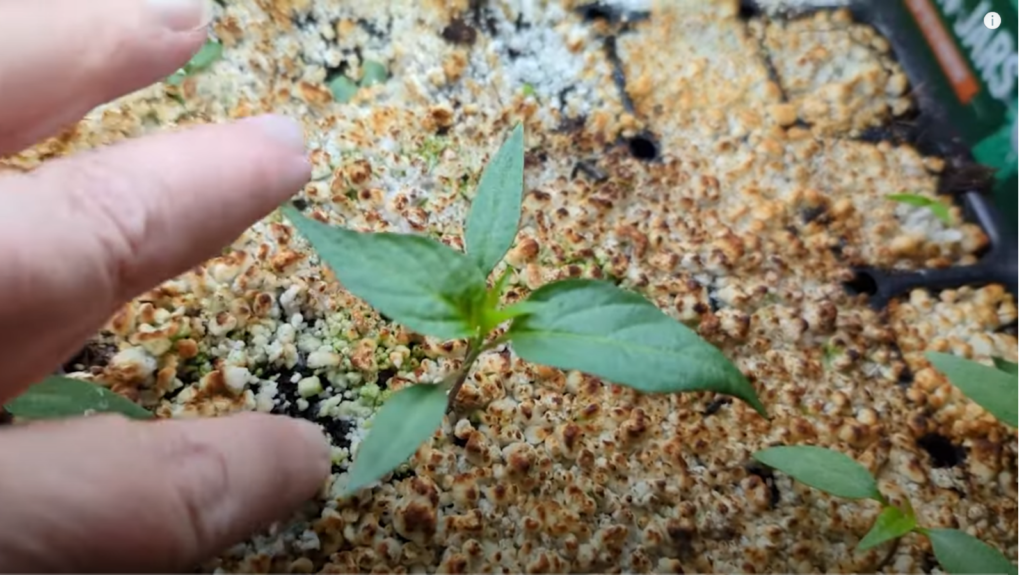
I’ll probably start to transplant out soon, pot them up. Then these are my mild Peppers, and these took longer than the hot peppers, see like here’s one. Let me see. Can you all see that? It’s starting to pop up, and these actually I think I’ve got my first Cubanelle pepper starting to pop up. I had a hard time with them germinating last year, but that’s my emerald green ones are starting to pop up and grow.
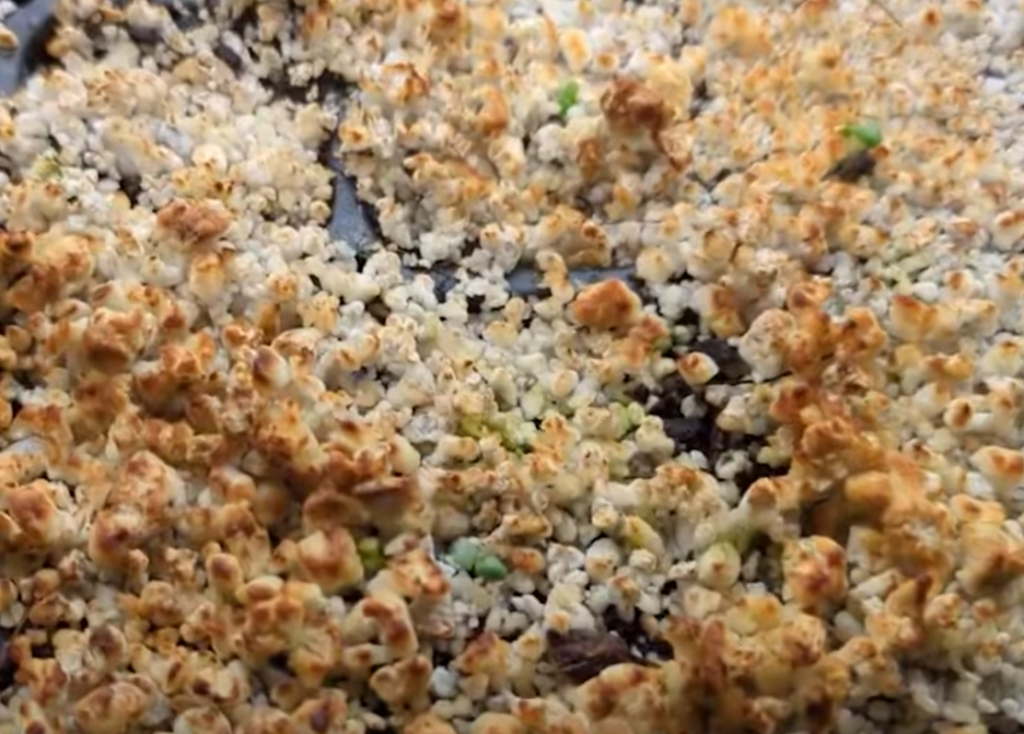
I think I probably put this perlite a little too thick in places but they are coming up, and I’m thankful. And, then in my other tray – this was the second tray that we did of herbs – it had two things of lavender. My Dill as you can see also. The Dills come up like gangbusters so that’s good. And look at my holy basil. It’s started to come up. There’s a new one.
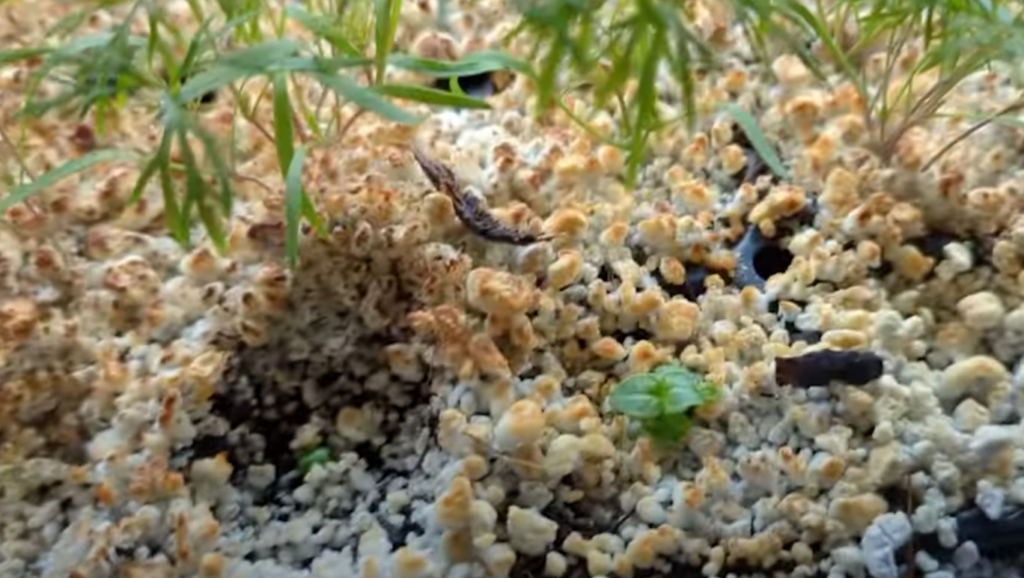
Now this lavender was not cold stratified, so it has taken quite some time to start getting these little germinations that are starting to pop up, and most of it is in the Vera lavender. That’s common lavender, but I just try to be careful and every now and then I’ll see one pop through.
Now my Hungarian wax peppers that’s my first one,
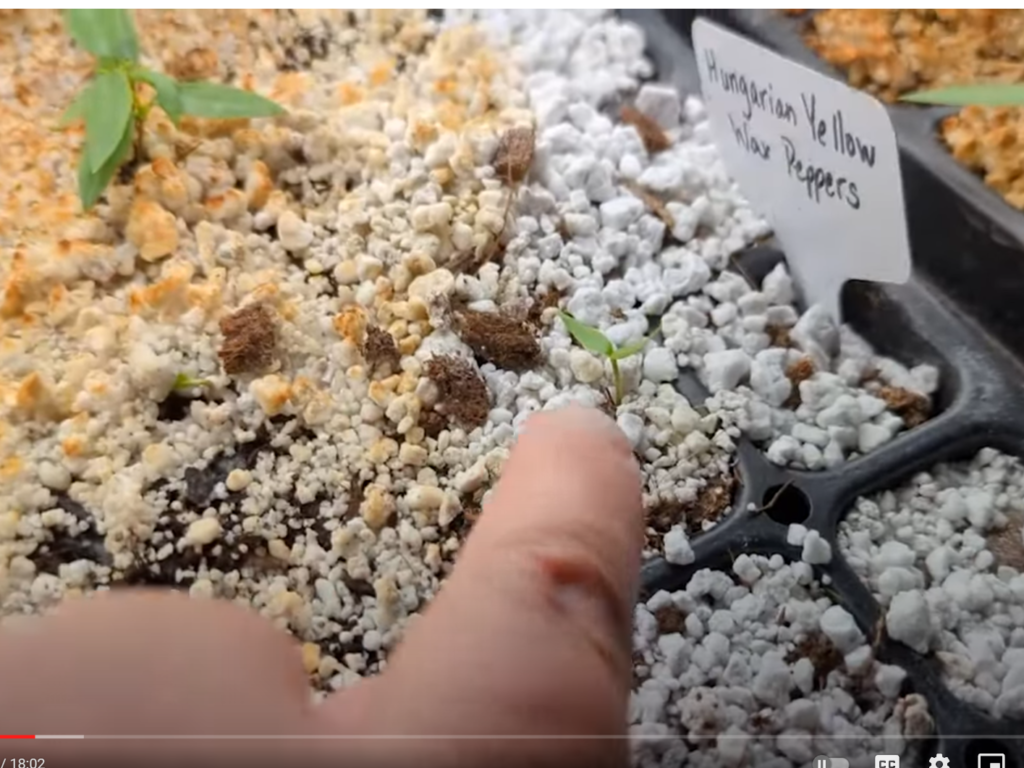
so I’m excited that those are starting to germinate, but then I have such sad news. Y’all know I set up a heat mat in the Greenhouse for my tomatoes, and I’m pretty sure I killed most of my tomatoes. I have one there and there’s an Amish paste down there.
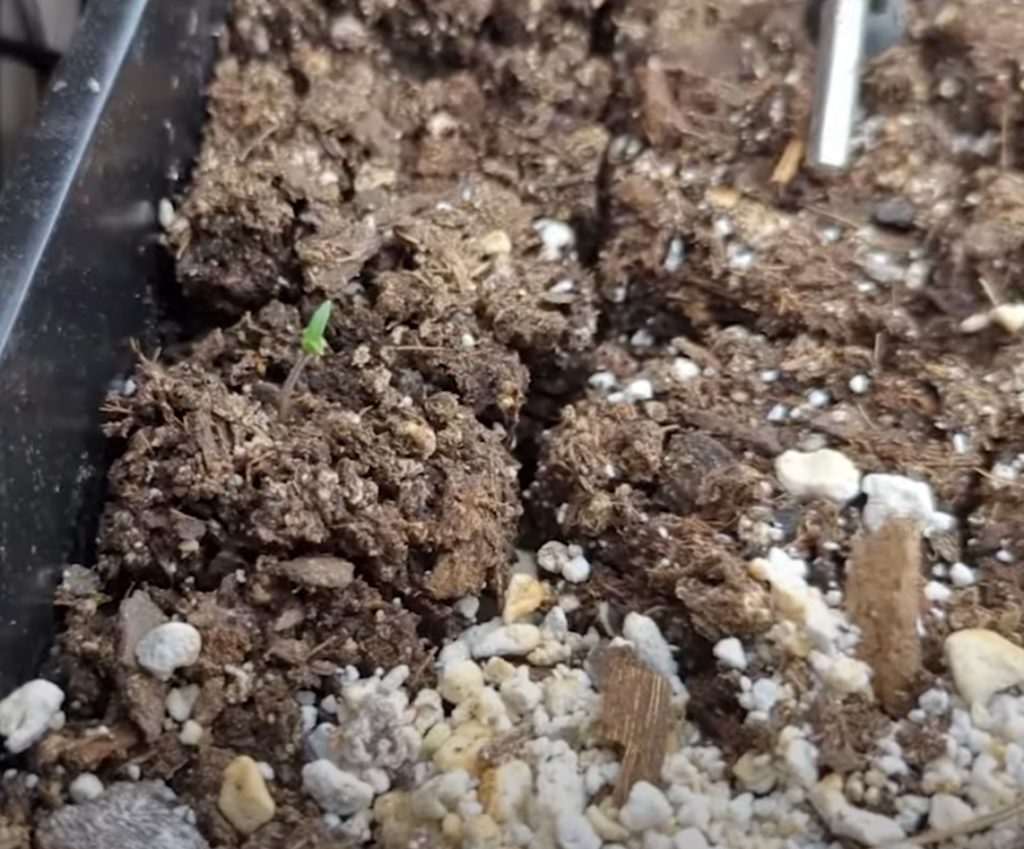
I thought John opened the greenhouse, and he thought I opened the greenhouse – with the heat mat this stuff was so hot it almost burnt my hand. It was hot to the touch. My Snapdragon tray all died It is pretty devastating to lose your trays of tomatoes,

but now I have a little hope.. Now I still had cherry tomatoes and stuff I had not planted, but this this was a BIG HIT. It should have germinated like four days ago at the least, so wow – nothing.
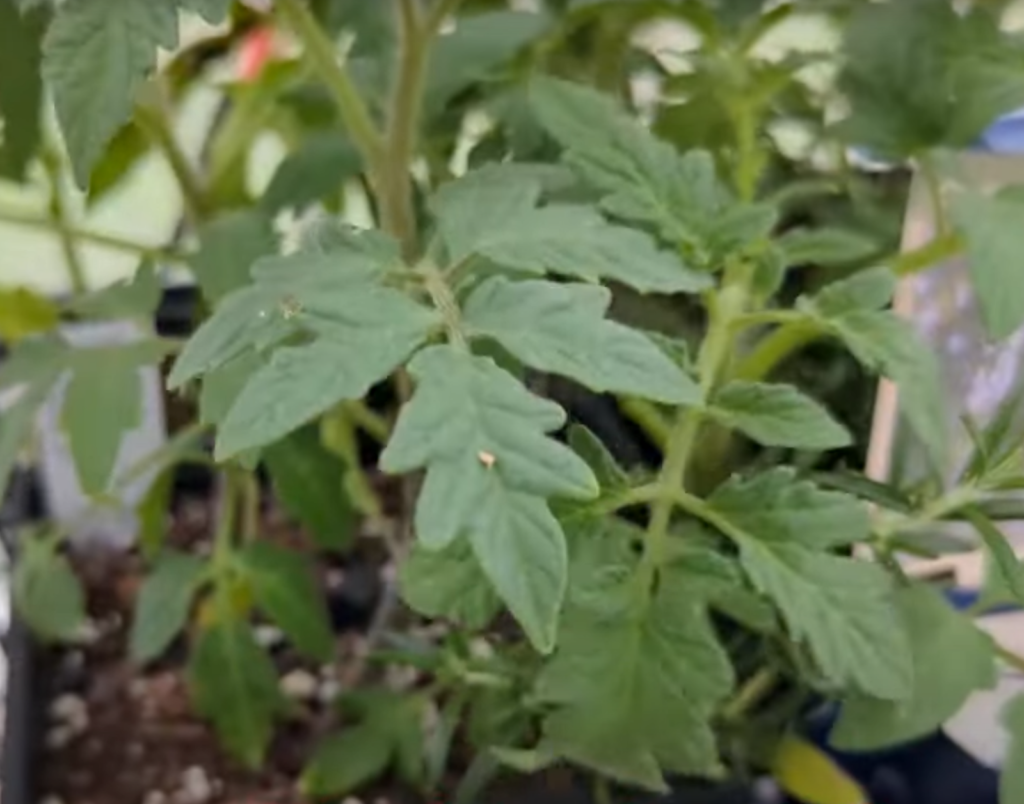
But I have something else to show you I’m so excited about. When I thought I killed all my plants I went to the local nursery and I bought five Cherokee Purples, and I got a couple hybrids like big beef hybrid versions. I thankful for that. I did get a couple zucchinis to get an early start on them because I haven’t even started my zucchinis yet.


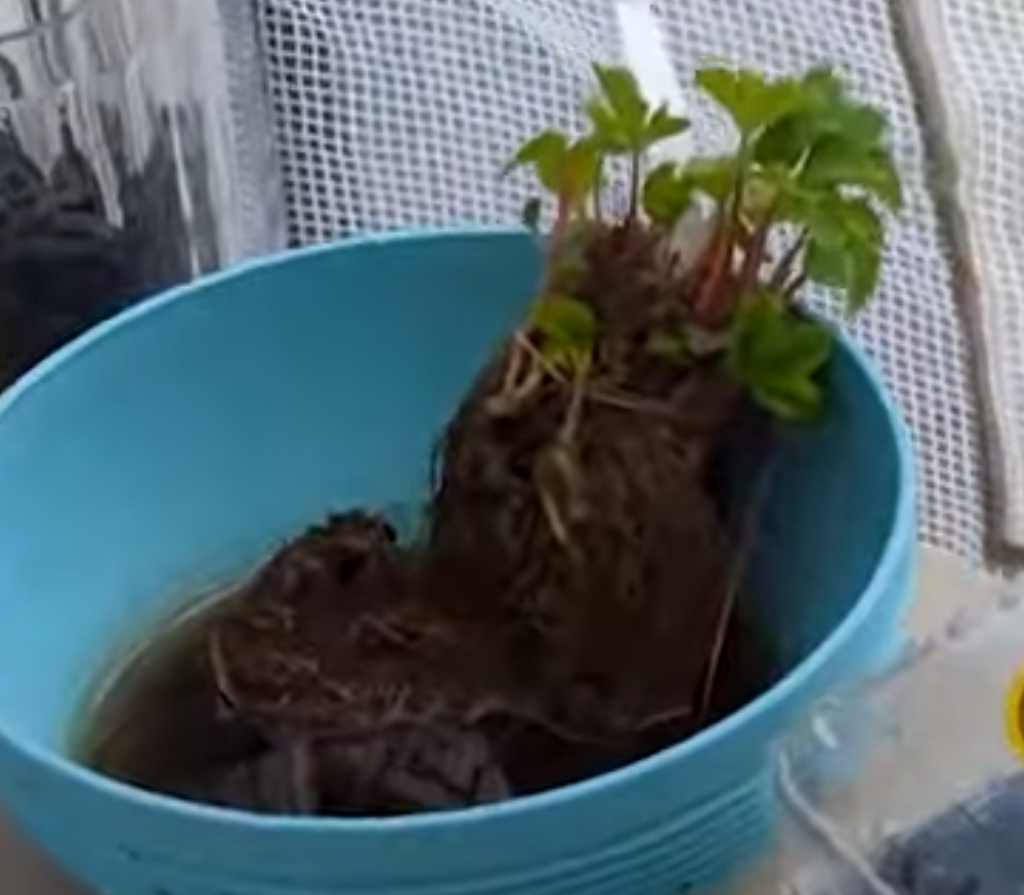
My strawberries came from Ison’s, and I’ve got to get those planted up and I got some lemon boys.
Strawberries:
Lemon Boy:
I went ahead and bought some Rosemary, and I have not tried to grow any Rosemary, so I bought some Rosemary because mine died with the Christmas cold.

I did get this one called a Better Bell it’s supposed to it’s a sweet bell pepper and it’s supposed to be pretty prolific, and they were pretty inexpensive where I got them, and then I also got some Roma tomatoes and some lemon boys. We really liked the lemon boys last year.
Then these are still my lettuces, leftover cabbages, my leeks.
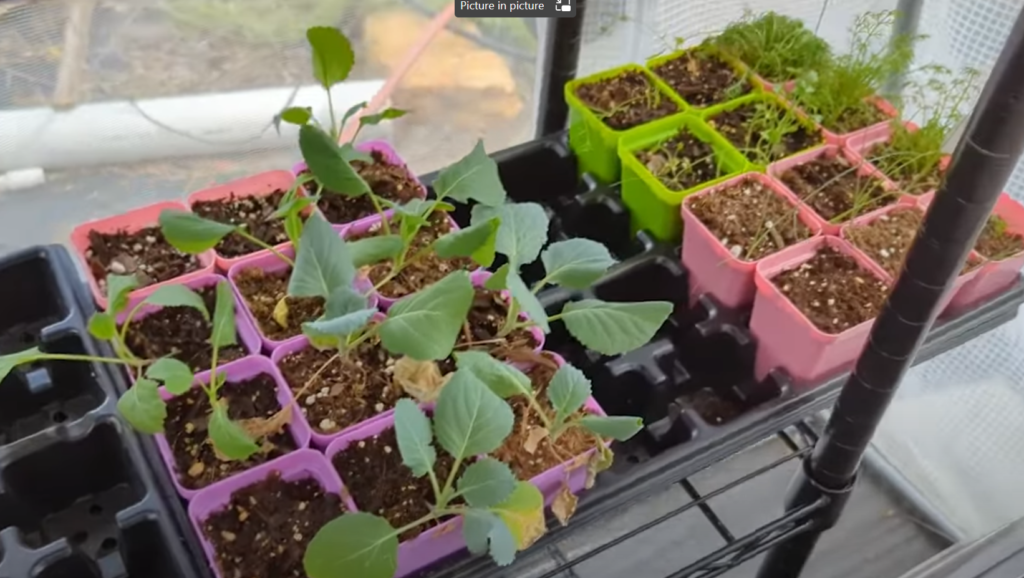
I know one of those is I think that’s the celery over there and then of course my chamomile tea (above picture). And look – this was my original tray that we did and if you can see there you go some that one is lavender starting to finally come up.

don’t see any of the common lavender yet, and then of course some dill and some holy basil that has started to germinate, so I’ve continued to water and feed them. I fed these plants last night with the AgroThrive, and I don’t know what I’m gonna do with all those cabbages (oh I know where I could maybe put them (maybe in another post :))).
So I wanted to show you this as well before I end this post. Well first of all this I want to show you if you ever go to Aldi’s or any of those kind of places and you see the little Greenhouse kits and things. This is one from Aldi we got last year and put it together this year for John’s propagations if you can see and this has been fabulous for this purpose. Now, it was one that was supposed to you could just fit over a bed and I think I paid twenty dollars for it.
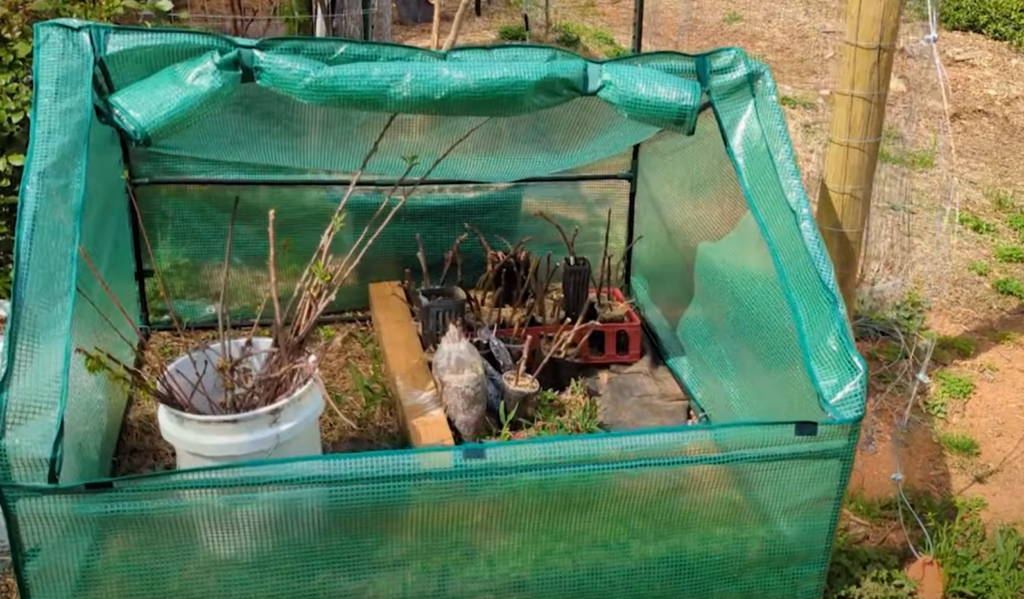
This could be a great way to go, if you just have a small garden and you’re trying to do your own seeds. I think you might enjoy one of these, so I just wanted to show that. But I wanted to show on my front garden. John says to please excuse the door.
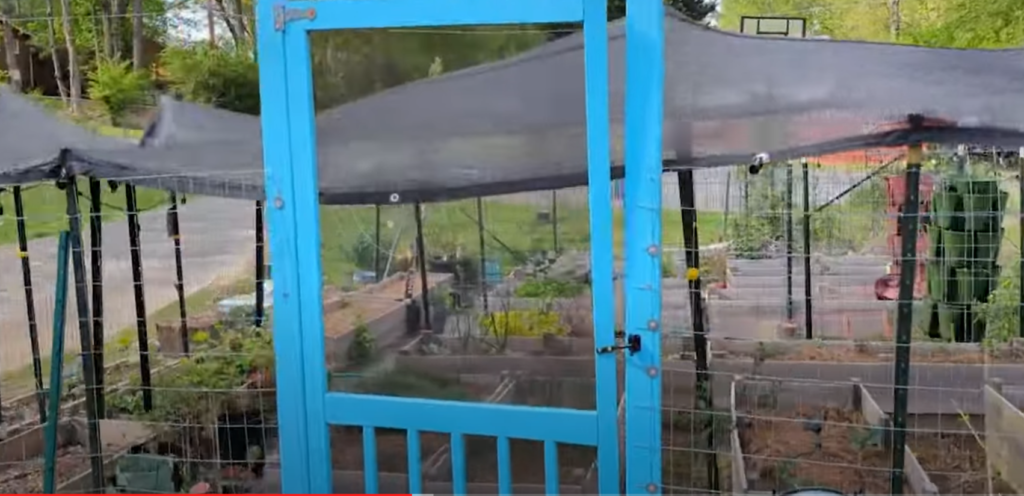
If you can see I went ahead and I put up my shade cloth (the black fabric in the air, if you cannot tell from my description). This is 70% shade cloth because this is where we planted all of my brassica.

Those are all my cauliflowers and in between the cauliflowers I companion planted (by seed, direct sow) my nasturtium. So I’m hoping those will come up.
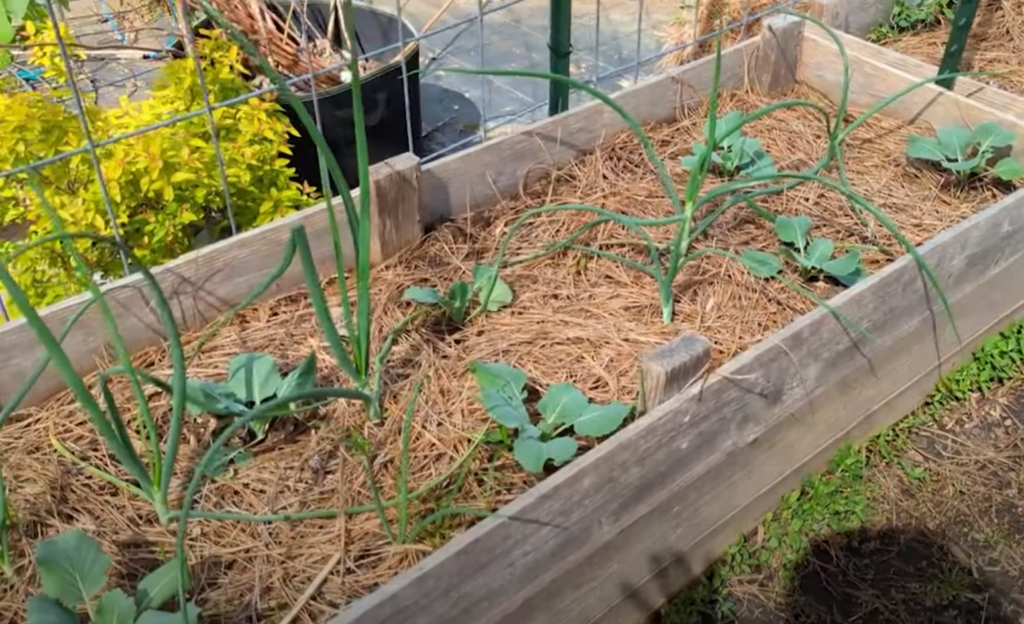
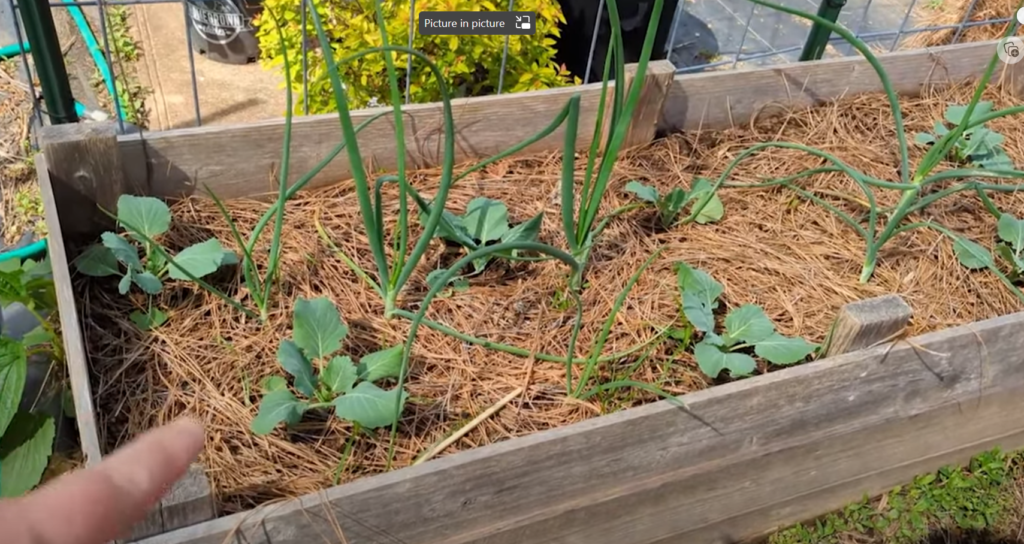
In this one we have our this is our broccoli and you can plant broccoli with onions. These are our onions that survived the cold, and all of these beds had onions.

Brassicas will do okay companion planted with onions, so I’ve got my onions here these are cabbages.
Then in the back with the trellis I actually planted my nasturtium Vining nasturtiums. They’re new to me I’ve never done those before, so I hope that they work.
I think they’ll be beautiful going up the cattle panel trellis.
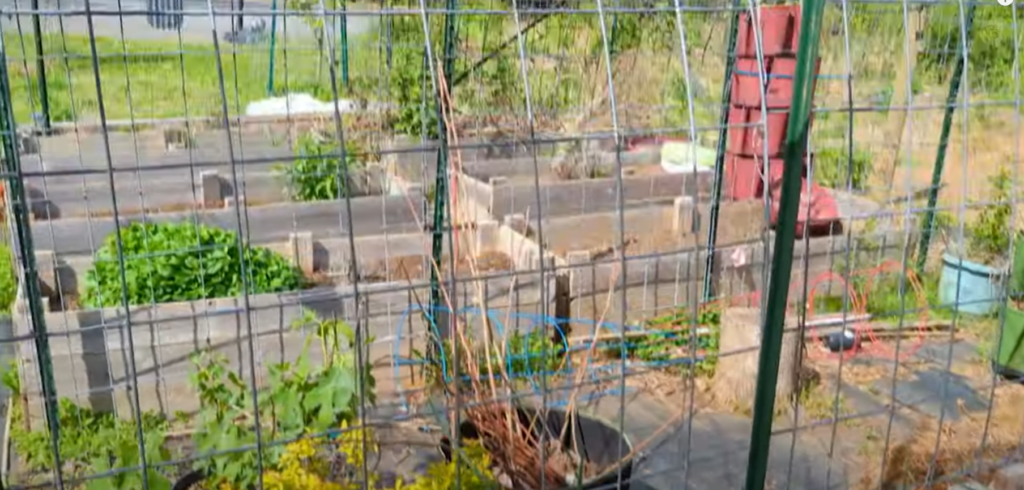
and if you can see where the shade cloth, it still gets pretty good sun and it can handle the Sun too, which is why it isn’t over the arched cattle panel trellis.

and then over here I have my peas. I grew peas here last year and they did phenomenal, and I thought this would be a good place because even with the shade cloth it does get some sun and shade, which with 88 degree Heat next week could do some damage to the peas. I mean they’re not even tall enough to produce fruit yet, so I have to be careful.

(see that one’s already how it’s already wanting to grab on)
You just kind of want to encourage it to grab onto your trellis.

Shade Cloth
This is the shade cloth I put up and I actually had to take two pieces. I zip tied them together and then I took these little pieces of PVC (a Tee) John had put this up two years ago we’ve done shade cloth before; we usually just wait to put it up until June/July, but I went ahead because I have brassicas in here.


All these buckets they need to go out in the New Garden area once we get that set up,


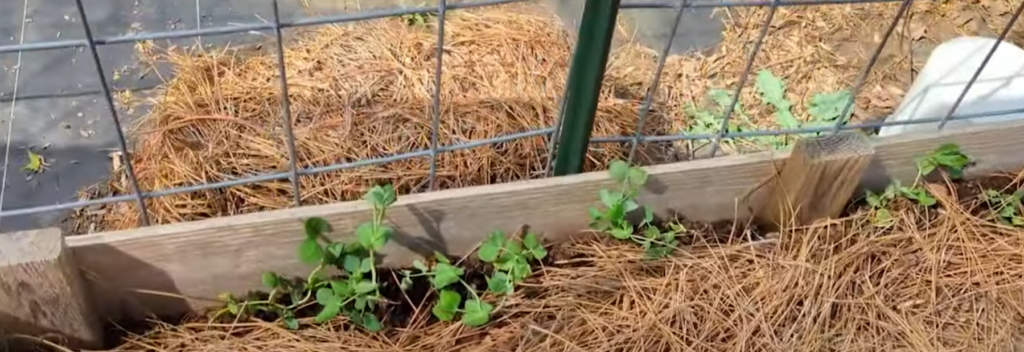
and you can see the strawberry bed’s gone crazy.

Strawberry Bed Gone Crazy 
Then this has been the big question because I have my worms. I haven’t got the worms, yet but that’s my worm habitat and I want I think I’m gonna order another shade cloth for this side as well so that’s going to kind of dictate how I’m going to plant.

Worm Habitat (circled in red) Hope you enjoyed. You can see everything in my video and more.
I’ll see you next time bye.


Beautiful Lemon Balm

some fell on the good ground…